
13th September to 17th September
Brigadier Potts believed from the start his only option was to make a fighting withdrawal to harass and delay the Japanese. It was done with skill and coordination. These tactics were not only logical and effective, but ultimately highly successful. By the time the Japanese reached Ioribaiwa their lack of supplies and a deterioration on other fronts forced a halt to their advance. All Potts received for his efforts was ridicule from General MacArthur and relief of his command by General Blamey.
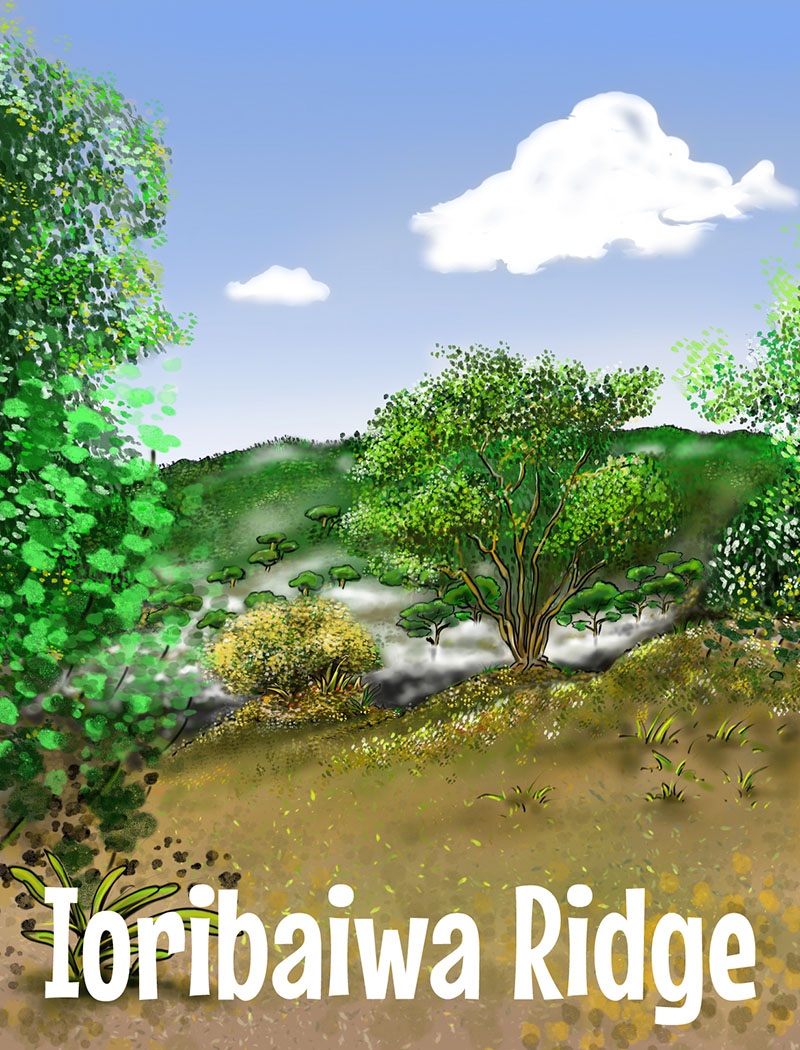
Ioribaiwa Ridge was the southernmost point reached by the Japanese in September 1942. The Japanese had reached the very end of their supply line. The Australians on the other hand could call on fresh troops and, for the first time, had adequate supplies.
13-14 September
Over 1700 fresh Australian soldiers bumped headlong into an advancing Japanese battalion. The Australian company commander felled the officer with a single shot from close range.
A fire fight ensued with neither side giving ground. It was very unusual in the closed-in foliage that all weapons of a company could be brought to bear at once. The noise was shattering. Japanese mountain guns and Juki machine guns commenced a concentrated bombardment of the Australian positions. In two minutes of rapid fire the Australians used nearly 3000 rounds of ammunition.
14-16 September
Late on 14 September the Japanese managed to hold a position at the eastern edge of the ridge. On 15 September the Japanese field commander Colonel Masao Kusunose realised he was well outnumbered and decided to go on the offensive. The Japanese managed to take some ground and wedge them self within the Australian frontline. A counter-attack by the Australians failed to eject them.
The Japanese increased the pressure on 16 September and took more ground, seizing the heights of a dominant hill nearby. From this position they could look right along the Australian lines and threaten them with machine gun fire.
17 September
Further efforts to dislodge the Japanese failed. At this point a request was sent to Port Moresby asking permission to withdraw.
With more reinforcements arriving in Port Moresby from Australia and America and the prospect of artillery support from Owers’ Corner, the newly appointed Brigadier Ken Eather considered the withdrawal to Imita Ridge to be essential.
Consent was begrudgingly given, and the movement began at midday.
The reply from Port Moresby was: “There won’t be any withdrawal from the Imita position Ken. You’ll die there if necessary. You understand that?”
When news of the withdrawal reached Canberra there was considerable panic within the government. General MacArthur was safe in Brisbane. To him the decision to withdraw from Ioribaiwa to Imita Ridge was the last straw. He telephoned Australian Prime Minister Curtin to suggest that General Blamey go to Port Moresby to take command of the situation personally. One of Curtin’s senior ministers said: “Moresby is going to fall. Send Blamey up there and let him fall with it.”
Two battalions of Japanese soldiers made it as far Ioribaiwa Ridge. It was a stunning victory for the Japanese. But after the battle at Ioribaiwa Ridge, all the hard fighting, sickness, lack of food, and supply difficulties soon brought the Japanese soldiers to the edge of exhaustion. The Japanese were in no position to follow up the Australian withdrawal.
With the benefit of hindsight, the Australian withdrawal proved to be the correct decision. The Australian force was kept intact. Imita Ridge provided a solid base for the advance. Supporting artillery was brought forward for the first time and the enemy supply problems were stretched to breaking point.
No fighting occurred at Imita Ridge. Australian troops patrolled the valley between the ridges making little enemy contact. By 27 September the unbelievable happened. Australian patrols reached as far as Ioribaiwa Ridge to find it abandoned. The Japanese were a spent force and the Australians reoccupied the whole of Ioribaiwa Ridge without a shot being fired nor a Japanese to be seen.
The Japanese had begun their long and painful withdrawal, but the fighting wasn’t over. The Australians now pushed forward. Further battles occurred along the track and continued to the north coast. There were fierce clashes at Mount Bellamy, Templeton’s Crossing, Eora creek and Oivi, with the campaign culminating in the bloody battles of the Gona-Sanananda-Buna beach head. Finally the war ended on January 22 1943 (6 months after the start).